
Okay, store-bought mint thins are pretty awesome themselves. But I always like to try a homemade version of something before I make my mind up completely, and while I was fishing around on my favourite food blog (smittenkitchen - who has just introduced the most beautiful little boy into the world), I found a sweet little recipe for chocolate wafers. She made a suggestion of adding mint essence to them and covering in chocolate, and the idea intrigued me, so naturally I took it and ran with it... adding my own improvsations in as I went.
The wafers are so very easy, and mintifying them even more so. Seriously, there is absolutely nothing to this, and even hardly any fiddling around. I love it, and am already planning a second batch to deliver to my grandmother who is completely obsessed with anything chocolately and minty. The great thing about this recipe, too, is that you can adjust the level of mintyness; whether you want it that firey hot peppermint, or just mild, with a hint. A warning though, cos there is a lot of strong chocolate flavour in this recipe, I would suggest adding a little more than you think, if you only want a mellow mint taste, otherwise the chocolate might overwhelm it.
Chocolate Wafer Recipe:
1 1/2 c flour
3/4 c cocoa powder
1 c plus 2 tbsp sugar
1/4 tsp salt
1/4 tsp baking soda
180 grams butter, softened
3 - 5 tbsp milk
1 tsp vanilla essence
1. In a bowl, cream your butter and sugar.
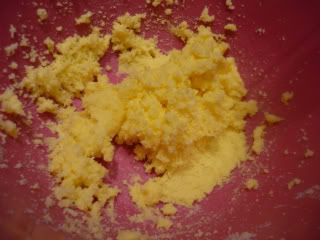
2. Add everything else! With the milk though, only add a few tablespoons of the milk to start with, and if everything doesn't start to form into damp clumps, keep adding the milk until it does. Just go slowly so you don't make it too soft.
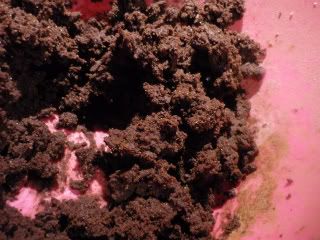
3. Form it into a log - make sure the log is about as big as you want your wafer to be, cos you're just going to slice off pieces from this log, and pop them on the tray. After you wrap it all up, let the log sit in the fridge for about an hour.
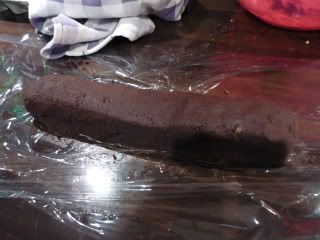
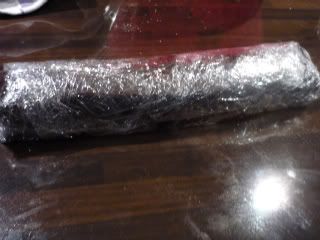
4. After an hour, remove them from the fridge and start slicing - make them about a cm thick, and then gently set them on your baking tray. They will not spread all that much, so you don't need to be too careful with spacing
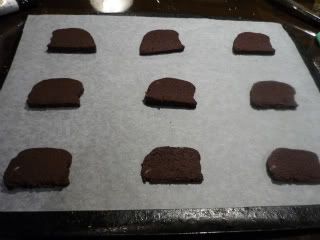
5. They will need to cook for about 10 - 15 minutes in a low heat of about 150 degrees celcius. When you bring them out of the oven, you'll also need to let them sit on the tray for another five minutes before you attempt to move them, as they will still be very soft.
Mint filling
2 c icing sugar
1/8 c hot water
1 tsp butter
2 tsp peppermint extract (for firey mint)
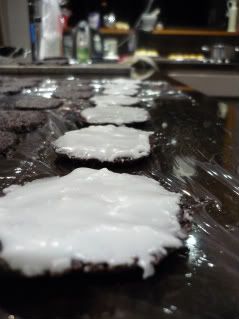
1. Once all your wafers are cooled, line them up on the bench in two rows - one for spreading with the mint filling, and one to top with.
2. In a bowl, melt your butter in the water, and then add your mint and icing sugar. You may need to add more icing sugar, but what you want is a reasonably thick icing. You don't want it to ooze all over the place, as that'll cause problems when you're eating it.
3. Go ahead and spread that icing all over one row of the cookies, and then top with the second. Let them sit for five minutes so that the icing can firm up.

Chocolate for dipping
1. In another bowl, melt approximately 300 grams of milk chocolate and stir until smooth.
2. Then dip one side of the sandwiched cookie in the chocolate, so that it covers the edges and seals in all the mintyness.
3. Let sit until the chocolate has hardened, then nom!



No comments:
Post a Comment