Wednesday, September 30, 2009

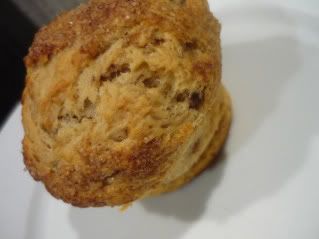
Banana, Chocolate Chip and Caramel Muffins

Photobucket

Yesterday was a public holiday in my region of the country, and one of the two aunts who lives elsewhere than our town, is down with her little babies. So my mother decided that she would have the family to brunch. By the family I do mean The Family ... children, aunts, uncles, grandparents. Though not even half were able to make it, there were still eleven adults and four children. You know, average breakfast for fifteen. Anyway, we did brunch (rather uneventful, and came together easily!), and then I decided we needed something sweet to eat later with a cup of tea, or coffee. I had some cookie dough in the fridge, so Harriet and George (six and two, cousins) helped me roll them out and put them in the oven. But I also had some bananas left over from my baking efforts on Saturday (to come), so I decided to whip up some muffins.

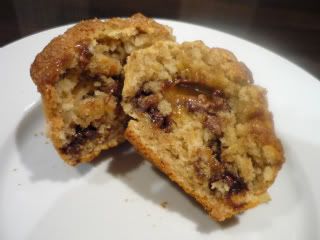
Usually these muffins are simply banana and chocolate chip, and they're good like that. But Nicola (one of the many aunt's) shared a trick she uses when baking for the shearers on her farm... put a piece of caramello chocolate in the middle. Genius! Who doesn't love caramel? And this method is so simple! So I sent my father out to buy eggs and chocolate, and while he was away, set the 'helpers' to mashing banana.

I did most of the banana mashing.
Photobucket

Banana, Chocolate Chip and Caramel Muffins

4tbsp butter, melted
1 1/2 c milk
1 c semi packed brown sugar
4 c flour
4 small - medium bananas, mashed
2 eggs
6 tsp baking powder
1 c chocolate pieces
24 pieces of caramello chocolate

Topping

1/2 tsp ground cinnamon
5 tsp sugar

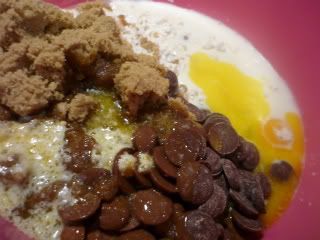
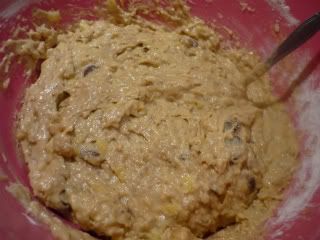
1. Put everything in a bowl, and mix. Just a tip though, add the melted butter last so it doesn't have time to set. Just make sure you don't pour it on the chocolate.
Photobucket

Photobucket

2. Get two small muffin trays, and fill each cup half way. Once that is done, place a piece of the caramello chocolate in the middle of each spoonful of mixture. Top with another spoonful, so that the mixture is even with the top of the cup.
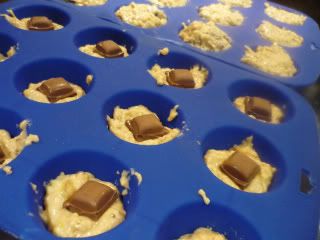
Photobucket

3. In a small bowl, mix together the ingredients for the topping, and then sprinkle a little on top of each muffin.
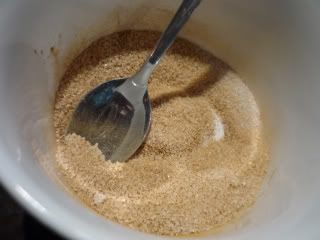
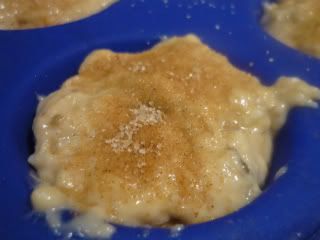
Photobucket

Photobucket

4. Place them in an oven preheated at 180 degrees celcius, and bake for around 10 minutes, or until the muffins are firm-ish to the touch, and will bounce back quickly when you poke them gently.

5. Eat them while the're still warm. You can put butter on them, but you won't really need to. They're quite a moist muffin, with all that banana and chocolate in there.
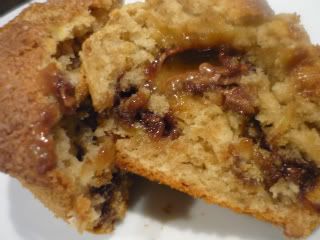
Photobucket
See the caramel?
Saturday, September 26, 2009

Jill's Sydney Square

Photobucket

This is something I sort of grew up with, once again. It's a recipe from my Godmother, who (along with her family) is a very close family friend. She's a great cook - though I never appreciated the yumminess she used to make as a child as much as I do now. However, I always loved this slice, even though it's full of coconut. I'm not a coconut fan, but... this. This is delicious, even with all that coconutty-stuck-in-your-teeth-ness.

And what is even better? It literally takes two minutes to whip up. There is no creaming of this or that, and you don't even have to be overly accurate with the measurements (though of course it helps). I don't have much to say about this, except that it's quite delicious, waaaay too easy to make, and perfect if you have unexpected people drop by. That's why mum asked me to make some on thursday... and now (now being Saturday), it's all gone. So I'll have to make some more! I'll admit that I did sort of break my non-chocolate diet more than a time or two for this. But who could blame me?

Jill's Sydney Square
125 g butter
2tbsp cocoa
1/2 c sugar
1 tsp baking powder
1 c desicated coconut
1 c cornflakes
1 c flour

1. Melt your butter, then mix in the sugar. Step one is complete.

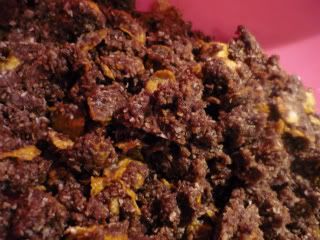
2. Add in everything else and give it a stir until everything is nicely combined and the mixture forms damp clumps... like the picture below will show you.

Photobucket

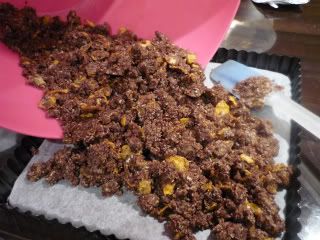
3. Pour it into a 20cm square baking tin and press down hard. You don't want any loose bits, otherwise it will be crumbly when baked up, and difficult to eat.

Photobucket

4. Bake for eighteen minutes in a 180 degree celcius oven. Remove from oven and let cool for ten minutes. While it is cooling, make your icing!

Basic Chocolate Icing

2 c icing sugar
1/4 c cocoa powder
1 tsp butter
1/8 c hot water

1. In a bowl, melt the butter in the water.

2. Add the icing sugar and cocoa in and mix until smooth and well combined. You may need to add more icing sugar or water in, depending on the texture. You want it to be thick and slightly runny.

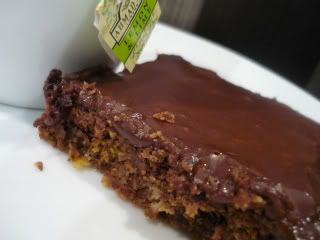
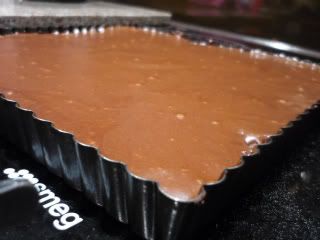
3. Pour over the still warm slice and let sit for twenty minutes before attempting to cut. Or, you could be my family and just hack away at it.

Photobucket
Doesn't that look awesomely delicious?

Photobucket
Attack of the family.


Yummy-ness.

Photobucket

Friday, September 25, 2009

Home Made Mint Thins

Photobucket

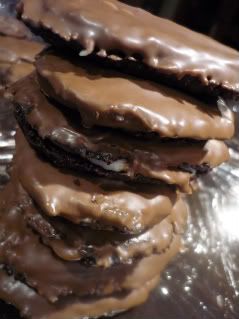
Okay, store-bought mint thins are pretty awesome themselves. But I always like to try a homemade version of something before I make my mind up completely, and while I was fishing around on my favourite food blog (smittenkitchen - who has just introduced the most beautiful little boy into the world), I found a sweet little recipe for chocolate wafers. She made a suggestion of adding mint essence to them and covering in chocolate, and the idea intrigued me, so naturally I took it and ran with it... adding my own improvsations in as I went.

The wafers are so very easy, and mintifying them even more so. Seriously, there is absolutely nothing to this, and even hardly any fiddling around. I love it, and am already planning a second batch to deliver to my grandmother who is completely obsessed with anything chocolately and minty. The great thing about this recipe, too, is that you can adjust the level of mintyness; whether you want it that firey hot peppermint, or just mild, with a hint. A warning though, cos there is a lot of strong chocolate flavour in this recipe, I would suggest adding a little more than you think, if you only want a mellow mint taste, otherwise the chocolate might overwhelm it.

Chocolate Wafer Recipe:

1 1/2 c flour
3/4 c cocoa powder
1 c plus 2 tbsp sugar
1/4 tsp salt
1/4 tsp baking soda
180 grams butter, softened
3 - 5 tbsp milk
1 tsp vanilla essence

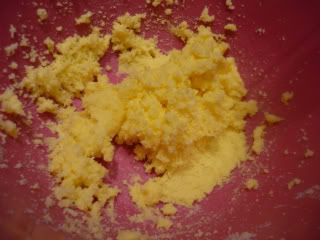
1. In a bowl, cream your butter and sugar.

Photobucket

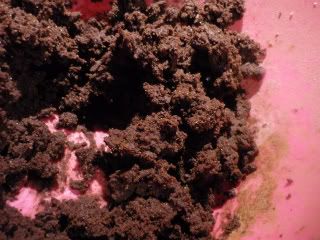
2. Add everything else! With the milk though, only add a few tablespoons of the milk to start with, and if everything doesn't start to form into damp clumps, keep adding the milk until it does. Just go slowly so you don't make it too soft.

Photobucket

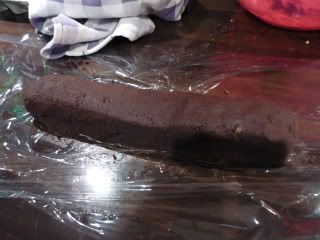
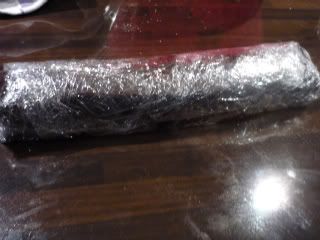
3. Form it into a log - make sure the log is about as big as you want your wafer to be, cos you're just going to slice off pieces from this log, and pop them on the tray. After you wrap it all up, let the log sit in the fridge for about an hour.

Photobucket

Photobucket

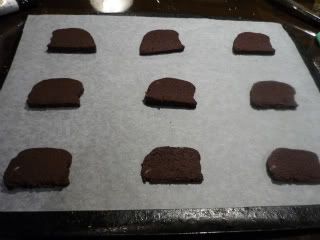
4. After an hour, remove them from the fridge and start slicing - make them about a cm thick, and then gently set them on your baking tray. They will not spread all that much, so you don't need to be too careful with spacing

Photobucket

5. They will need to cook for about 10 - 15 minutes in a low heat of about 150 degrees celcius. When you bring them out of the oven, you'll also need to let them sit on the tray for another five minutes before you attempt to move them, as they will still be very soft.

Mint filling

2 c icing sugar
1/8 c hot water
1 tsp butter
2 tsp peppermint extract (for firey mint)

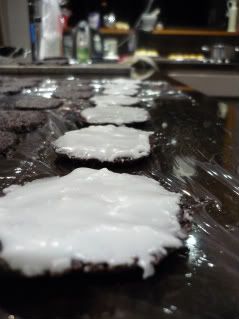
1. Once all your wafers are cooled, line them up on the bench in two rows - one for spreading with the mint filling, and one to top with.

2. In a bowl, melt your butter in the water, and then add your mint and icing sugar. You may need to add more icing sugar, but what you want is a reasonably thick icing. You don't want it to ooze all over the place, as that'll cause problems when you're eating it.

3. Go ahead and spread that icing all over one row of the cookies, and then top with the second. Let them sit for five minutes so that the icing can firm up.

Photobucket

Photobucket

Chocolate for dipping

1. In another bowl, melt approximately 300 grams of milk chocolate and stir until smooth.

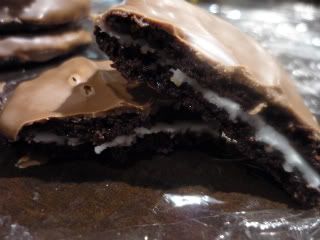
2. Then dip one side of the sandwiched cookie in the chocolate, so that it covers the edges and seals in all the mintyness.

3. Let sit until the chocolate has hardened, then nom!

Photobucket

Tuesday, September 15, 2009

Mean's Mayo Cake... Sort of.

Photobucket

Everybody craves chocolate cake once in a while, right? I know I do. But then I go and buy some, and it's always dry in texture and really crumbly. It's not worth the effort used to eat it, in my opinion. Plus, when my craving hit this time, it was some time after 11 pm, so I had no choice but to make something. Except it was sunday evening, which is universal empty-cupboards time, I'm sure of it. I knew I didn't have the required amount of butter for anything resembling a cake - I had eggs, but not much milk. Pretty useless, right? Then I remembered, Mean's mayo cake!

Mean was kind enough to give me this recipe when I was trying to find something to make for my grandfather's 75th birthday. Unfortunately I did not end up using it at the time (and found something equally as yummy - and have since lost the recipe for), but I kept it in my inbox, and after some searching it resurfaced. I'm glad I found it again! No need for butter, eggs or milk - just lots of sugar and mayonnaise. I could work with that.

However, I did change things around a little bit; like included a half cup of sour cream because I didn't quite have enough mayo, switched out some of the flour for some extra cocoa and completely forgot about the baking soda. Oops, thankfully I always over compensate with baking powder. I also think it would cope well with some chopped nuts - like walnuts or pecans. It worked out really well with those changes, so I officially like this cake. I think I would even like it a lot without the fact that it lend's itself to experimentation well, because it cooked up beautifully and tasted just as awesome.

Mayo Cake, ala Mean, with a little bit of tinkering.

2 3/4 cup flour
1 1/2 c sugar (thanks sara! forgot that one)
3/4 cup cocoa
3 heaped tsp baking powder
1tsp vanilla extract
1 cup mayonnaise
1/2 cup sour cream
1 1/2 cup water

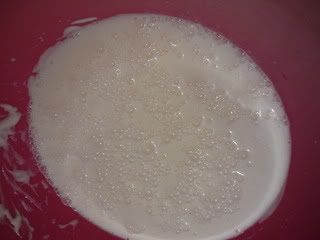
1. In a bowl, whisk together the mayo, vanilla and water.

Photobucket

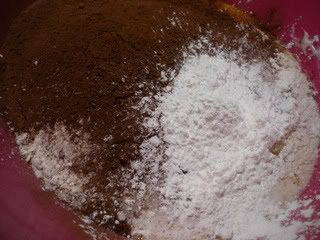
2. Add in everything else! Mix that all together and you're done. Pretty damn quick, hey?

Photobucket

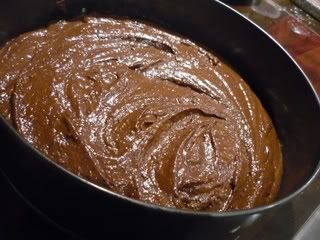
3. Pour it into your pan. I used a 30 cm sprung pan, though next time I would probably use a 20 cm so that I get a taller cake. Or possibly split it in half and cook it in two pans and sandwich it together with some icing when it's cooled.

Photobucket

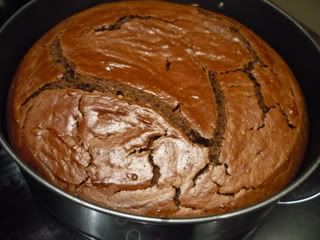
4. Pop it into your oven, which should already be preheated to 180 degrees celcius, fan bake (if you have it). Mean's recipe says let cook for 30 - 40 minutes, but I found that my cake was done within 25. That was probably due to the fact that I cooked it using the fan bake setting though, so the cooking time is always faster. You can always tell by touching it gently, and seeing if the cake bounces back. Or stick a skewer or a knife in it and see if it comes out clean.

Photobucket

5. Once you have determined that your cake is cooked, take it out and release it from the tin. If you haven't used a sprung tin, I'd suggest waiting until it's cooled quite a bit. But this cake is really dense, so it's not likely to break apart on you easily.

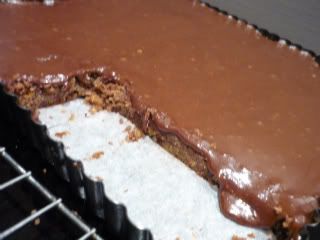
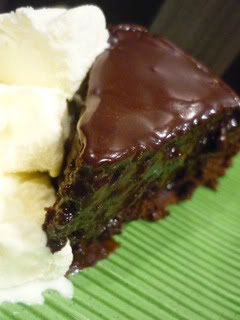
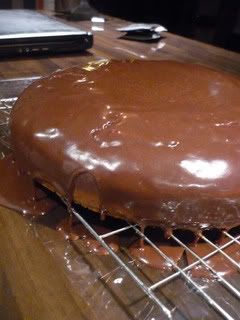
6. I like to ice my cake while it's still warm, so that way the icing sort of melts into the cake and makes it all the more dense and yummy. This time I chose ganache, but next time I think I'll go with a basic icing sugar and cocoa icing. If you are going to ice the cake while it's still warm and on the cooling rack, I'd suggest laying down some cling wrap or baking paper, and popping the tray on that, because the icing will just slide off the sides while it's melting in, because the cake is still warm. And then you can just fold up the cling wrap, and throw it away, without any extra clean up!

Photobucket

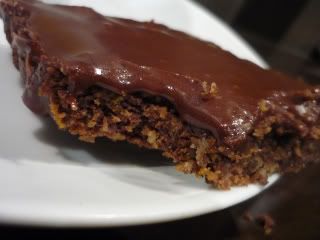
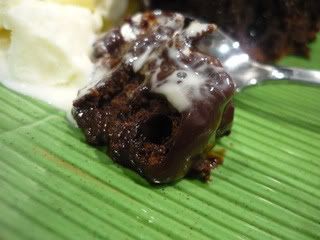
7. Cut it up, serve with ice cream and consume with great gusto.

Photobucket
Thank you Mean!